

The Regal Kitchen Pro Breadmaker is a versatile appliance designed for homemade bread enthusiasts. It offers 11 mix settings, adjustable loaf sizes, and crust color control. The included manual provides detailed instructions, recipes, and troubleshooting tips to ensure optimal performance. K6745S models feature advanced delay start and high-altitude adjustments, making it a comprehensive solution for breadmaking needs.
1.1 Overview of the Breadmaker and Its Features
The Regal Kitchen Pro Breadmaker is a versatile appliance offering 11 mix settings for various bread types and dough. It supports 1.5-2 lb loaf sizes and features crust color control. The delay start function allows convenient baking. High-altitude adjustments ensure perfect results, while the comprehensive manual provides recipes and troubleshooting tips. This breadmaker is designed for easy operation and customization, making it ideal for both beginners and experienced bakers.
1.2 Importance of Reading the Instruction Manual
Reading the instruction manual is crucial for understanding safety precautions, operating guidelines, and troubleshooting tips. It ensures optimal performance and helps users make the most of the breadmaker’s features. The manual provides detailed recipes, high-altitude adjustments, and maintenance advice. Familiarizing yourself with the guide prevents common issues and ensures warranty compliance, making it essential for both novice and experienced bakers to achieve perfect results consistently.

Product Features and Specifications
The Regal Kitchen Pro Breadmaker offers 11 mix settings, crust color control, and a delay start function. It supports 1.5-2 lb loaf sizes, ensuring versatility and convenience for various baking needs while maintaining consistent results and ease of use.
2.1 Types of Bread and Dough Settings
The Regal Kitchen Pro Breadmaker offers 11 versatile mix settings, catering to various bread types, including classic white, whole wheat, French, and gluten-free options. It also features dough settings for pizza, pasta, and rolls. These options allow users to experiment with diverse recipes, ensuring a wide range of baking possibilities tailored to different preferences and dietary needs.
2.2 Loaf Size and Weight Options
The Regal Kitchen Pro Breadmaker allows users to choose from three loaf sizes: small, medium, and large, with a weight range of 1.5 to 2 pounds. This feature ensures that users can bake the perfect size for their needs, whether for small gatherings or larger families. The adjustable options provide flexibility and customization for various preferences and recipes.
2.3 Crust Color Control and Delay Start Function
The Regal Kitchen Pro Breadmaker features crust color control, allowing users to choose light, medium, or dark crust settings. Additionally, the delay start function enables users to set a baking time up to 13 hours in advance. This ensures fresh bread is ready at a convenient time, perfect for waking up to homemade bread or preparing dough ahead of schedule.

Understanding the Control Panel
The Regal Kitchen Pro Breadmaker’s control panel includes intuitive buttons and an LCD display for easy navigation. It simplifies cycle selection and customization, ensuring a seamless breadmaking experience.
3.1 Components of the Control Panel
The Regal Kitchen Pro Breadmaker’s control panel features a user-friendly interface with a digital LCD display, navigation buttons, and function keys. It includes a start/stop button, crust color selector, and delay timer controls. The panel also has indicators for cycle progress and error notifications, ensuring easy operation and monitoring of the breadmaking process at every stage.
3.2 Navigating the Menu and Selecting Settings
Navigating the Regal Kitchen Pro Breadmaker’s menu is straightforward. Use the navigation buttons to scroll through options like bread type, crust color, and delay start. Select settings with the confirm button. The LCD display guides you through each step, ensuring easy customization of loaf size and weight. This intuitive design allows users to tailor their breadmaking experience efficiently and effortlessly to achieve perfect results every time.
Basic Operating Instructions
Learn the essential steps to operate the Regal Kitchen Pro Breadmaker. Prepare ingredients, load the machine, select the desired cycle, and let the breadmaker do the work. Ensure the bread cools properly before slicing for the best results. Follow these simple steps for consistent, delicious homemade bread every time.
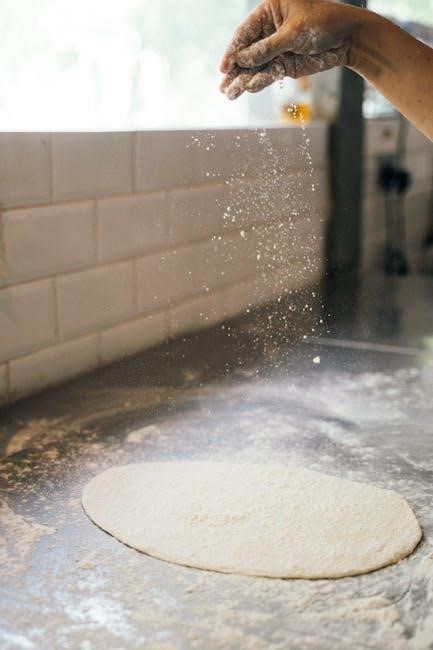
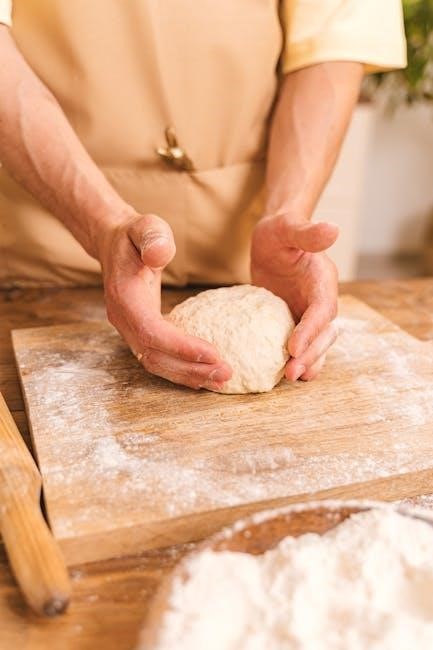
4.1 Preparing Ingredients and Loading the Breadmaker
Start by measuring ingredients accurately, ensuring flour, yeast, and liquids are at room temperature. Add ingredients to the breadmaker pan in the recommended order: liquids first, followed by dry ingredients, with yeast on top. Avoid letting yeast touch liquid prematurely. Secure the pan firmly in the machine and close the lid. Refer to the manual for specific guidelines, especially for models like the K6745S.
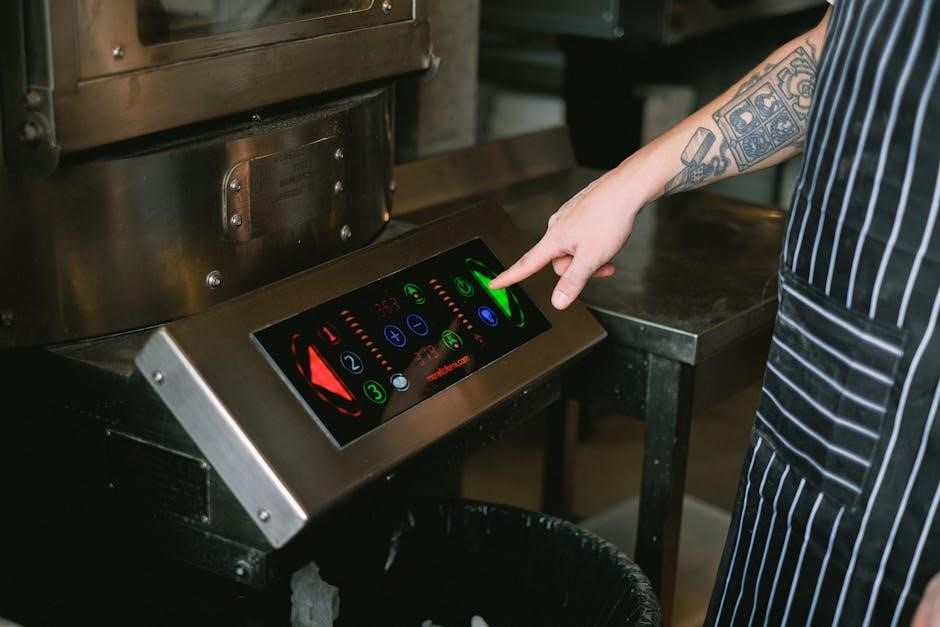
4.2 Selecting the Right Cycle and Starting the Machine
Select the appropriate cycle based on the type of bread or dough. For example, choose the basic cycle for classic white bread or the whole wheat cycle for hearty loaves. Press the Start button after selecting your preferred settings. Ensure all ingredients are loaded correctly and the lid is closed. The machine will begin mixing, kneading, and baking automatically. Always review settings before starting to avoid errors.
4.3 Allowing the Bread to Cool After Baking

Once the baking cycle is complete, remove the bread from the machine and place it on a wire rack to cool. Allowing the bread to cool completely prevents moisture buildup and ensures a crisp crust. Avoid wrapping the bread in plastic until it has cooled, as this can make it soggy. Cooling also makes slicing easier and helps maintain freshness. Always let the bread cool before storing.
Recipe Guide and Conversion Tips
The Regal Kitchen Pro Breadmaker includes a comprehensive recipe guide with classic options like white bread and variations. It offers tips for high-altitude baking and converting traditional recipes, ensuring perfect results every time. Use the guide to experiment with ingredients and settings for customized bread creations.
5.1 Classic White Bread Recipe and Variations
The Regal Kitchen Pro Breadmaker manual includes a classic white bread recipe, a perfect base for experimenting with variations. Users can adjust ingredients for whole wheat or herb-infused bread. The guide suggests increasing water by 1-2 tablespoons for high-altitude baking, ensuring light and airy texture. Follow the recipe precisely for consistent results, and explore customization options to suit your taste preferences and dietary needs.
5.2 Adjusting Recipes for High-Altitude Baking
High-altitude baking requires adjustments due to lower air pressure and drier air. The Regal Kitchen Pro Breadmaker manual suggests increasing water by 1-2 tablespoons for better hydration. Additionally, reduce yeast slightly to prevent over-proofing. Salt can also be adjusted for flavor balance. Monitor dough consistency and proofing time to ensure optimal results. These tweaks ensure light, airy bread even at higher elevations, as guided in the manual.
5.3 Converting Traditional Recipes for the Breadmaker
Converting traditional recipes for the Regal Kitchen Pro Breadmaker involves adjusting ingredient ratios and instructions. Start by using the manual’s classic recipes as a guide. Reduce yeast slightly, as the machine’s proofing cycle is efficient. Adjust flour and liquid ratios to achieve the right dough consistency. The manual suggests monitoring the dough during the first mix cycle and tweaking as needed for best results. Always refer to the guide for specific conversions to ensure success.
Maintenance and Cleaning
Regularly clean the breadmaker’s exterior with a damp cloth and dry thoroughly. Interior cleaning involves removing crumbs and wiping with a damp cloth. Ensure all parts are dry to prevent rust or mold buildup. Follow the manual’s maintenance tips for optimal performance and longevity of your Regal Kitchen Pro Breadmaker.
6.1 Cleaning the Exterior and Interior of the Breadmaker
Clean the breadmaker’s exterior with a soft, damp cloth, avoiding abrasive cleaners. For the interior, remove crumbs and residue with a dry brush or damp cloth. Regularly wash the bread pan and paddles with mild soap and warm water. Dry all parts thoroughly to prevent rust or mold. Refer to the manual for detailed cleaning instructions to maintain your Regal Kitchen Pro Breadmaker’s performance and longevity.
6.2 Regular Maintenance for Optimal Performance
Regularly inspect and clean the breadmaker’s hinges and moving parts to ensure smooth operation. Lubricate the pan and paddles lightly if they show signs of wear. Check for crumbs in the crevices and wipe them away to prevent mold. Ensure the bread pan is securely locked during use. Refer to the manual for specific maintenance tips to keep your Regal Kitchen Pro Breadmaker functioning efficiently over time.

Troubleshooting Common Issues
Common issues include power interruptions, overproofing, or uneven baking. Ensure proper cleaning, check yeast levels, and verify ingredient measurements. Resetting the machine or consulting the manual can resolve most problems efficiently.
7.1 Identifying and Resolving Common Baking Problems
Common issues with the Regal Kitchen Pro Breadmaker include uneven baking, overproofing, or dense bread. Check yeast expiration, ensure accurate measurements, and verify crust settings. Power interruptions can restart cycles. Clean the pan regularly and avoid overloading. Refer to the manual for high-altitude adjustments. Proper maintenance and adherence to recipes help prevent issues and ensure consistent results.
7.2 Power Interruption and Recovery Options
In case of a power interruption, the Regal Kitchen Pro Breadmaker may resume its cycle automatically upon power restoration. If unplugged, restart the machine and select the desired cycle. Ensure the breadmaker is plugged into a stable power source. For detailed recovery steps, refer to the manual. Proper recovery ensures consistent baking results and minimizes waste.
Warranty and Customer Support
The Regal Kitchen Pro Breadmaker is backed by a comprehensive warranty covering parts and labor. For details, refer to the manual. Customer support is accessible via contact information provided in the manual for assistance with inquiries or repairs.
8.1 Understanding the Warranty Coverage
The Regal Kitchen Pro Breadmaker’s warranty offers coverage for manufacturing defects in materials and workmanship. The warranty period varies depending on the model, typically covering one year. It includes repair or replacement of defective parts, excluding wear and tear. For specific details, refer to the manual or contact customer support. Extended warranty options may also be available for purchase.
8.2 Contacting Customer Support for Assistance
For assistance with your Regal Kitchen Pro Breadmaker, contact customer support via phone or email. Visit the official website for contact details and operating hours. Ensure you have your model number and purchase details ready. Support agents can help with troubleshooting, warranty claims, and general inquiries. Online resources, including FAQs and manuals, are also available for quick solutions to common issues.